How to Repair a Garden Hose
Assessing the damage to your garden hose
Well, well, well, it looks like my garden hose has seen better days. After a particularly rowdy run-in with the lawnmower, it’s safe to say that it’s seen better days. But fear not, dear readers, for I am not one to let a little damage get me down. With a trusty pair of scissors, some duct tape, and a can-do attitude, I am confident that I can patch up this hose in no time. Who needs a fancy new hose when you’ve got a can of WD-40 and a can of elbow grease? Watch out, Martha Stewart, there’s a new DIY guru in town.
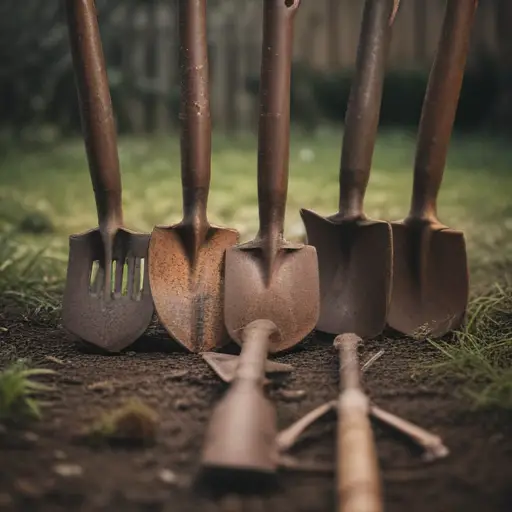
Gathering the necessary tools
One interesting fact about repairing a garden hose is that you can use a heat gun to soften the hose material and then quickly wrap it with electrical tape to create a temporary fix. This method can help extend the life of a damaged hose until a more permanent repair can be made.
As I embark on my quest to repair my beloved garden hose, I must first gather the necessary tools for the job. Scissors? Check. Duct tape? Double check. WD-40 and a can-do attitude? Triple check. Armed with these essential items, I am ready to tackle the task at hand and restore my hose to its former glory. Who knew that a simple garden hose repair could require such a diverse array of tools? But hey, when it comes to DIY projects, I always say it’s better to be over-prepared than under-prepared. Let the hose repair extravaganza begin!
Repairing the hose with ease

With my trusty tools in hand, I set out to repair my garden hose with ease. First, I carefully assess the damage, identifying the areas that need attention. Using the scissors, I trim away any frayed or damaged sections of the hose, ensuring a clean and smooth surface for the repair. Next, I apply a generous amount of duct tape to the damaged areas, wrapping it securely to create a tight seal. The WD-40 comes in handy for lubricating any stubborn connections or fittings, making it easier to reassemble the hose.
As I work through the repair process, I find myself in a state of flow, fully immersed in the task at hand. The rhythmic sound of the scissors cutting through the hose, the satisfying rip of the duct tape as I secure it in place – it’s a symphony of DIY delight. With each step, I can feel my confidence growing, knowing that I am capable of fixing this hose and saving myself the expense of buying a new one.
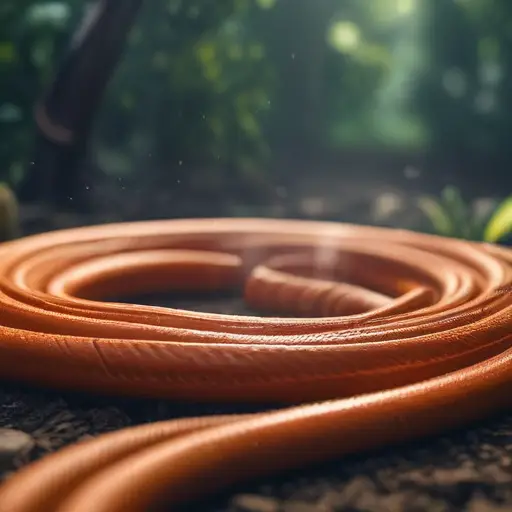
After applying the final touches to the repair, I step back to admire my handiwork. The once damaged and neglected hose now looks as good as new, ready to deliver a steady stream of water to my thirsty plants. I feel a sense of pride in my ability to tackle this project head-on and come out victorious. Who knew that a simple garden hose repair could bring such a sense of accomplishment? As I coil up the hose and put away my tools, I can’t help but smile, knowing that I am a DIY hero in my own backyard.
Maintaining your garden hose’s longevity
Did you know that you can easily repair a garden hose by using a simple hose repair kit? These kits typically include a hose mender, clamps, and a screwdriver, making it a quick and cost-effective solution to fix any leaks or holes in your hose. Just cut out the damaged section, insert the mender, and tighten the clamps – your hose will be as good as new in no time!
To ensure the longevity of my newly repaired garden hose, I make a mental note to prioritize regular maintenance moving forward. Simple steps like storing the hose properly, avoiding kinks and tangles, and checking for leaks or damage periodically can go a long way in extending its lifespan. By taking proactive measures to care for my hose, I can avoid future repairs and enjoy a reliable watering tool for seasons to come. After all, a little maintenance now can save me a lot of time and effort down the line.