DIY Guide to Making Garden Stepping Stones
Choosing the Right Materials
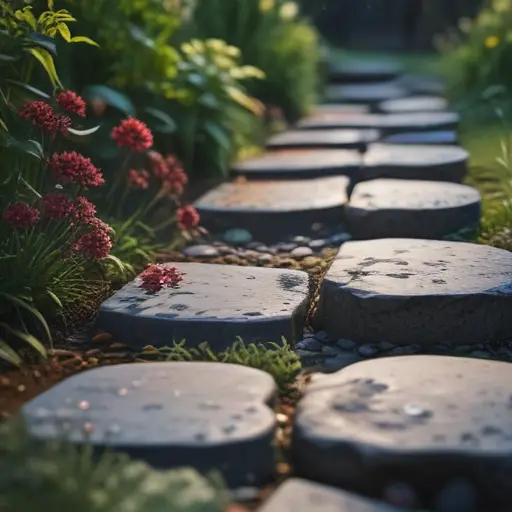
When it comes to making garden stepping stones, choosing the right materials is key. You don’t want to end up with a wonky, uneven path that looks like it was designed by a tipsy squirrel. Opt for sturdy materials like concrete or stone that can withstand the elements and the weight of your clumsy cousin who always manages to trip over everything. And don’t forget to add a touch of whimsy with colorful glass beads or mosaic tiles to really make your garden pop. Just remember, the goal is to create a charming pathway, not a hazardous obstacle course. So choose wisely, my friends, and may your garden stepping stones lead you to a land of beauty and laughter.
Designing Your Custom Stepping Stones
One interesting fact about making garden stepping stones is that you can personalize them by embedding objects such as seashells, marbles, or even handprints into the concrete before it sets. This allows you to create unique and decorative stepping stones that reflect your personal style and creativity.
When it comes to designing your custom stepping stones, let your creativity run wild like a squirrel on a caffeine high. Whether you want to imprint your favorite quotes, your pet’s paw prints, or even your own handprints, the possibilities are endless. Just make sure to use a durable mold that can withstand the weight of your clumsy cousin who always manages to trip over everything. And don’t forget to add a personal touch with vibrant colors or intricate designs that reflect your unique style. So go ahead, unleash your inner artist and create a garden pathway that will make your neighbors green with envy.
Mixing and Pouring Concrete

Mixing and pouring concrete for your garden stepping stones may sound like a daunting task, but fear not, my fellow DIY enthusiasts. Start by gathering your materials – concrete mix, water, a mixing container, and a trowel. Follow the instructions on the concrete mix bag to ensure the proper water-to-concrete ratio for a smooth and workable consistency. It’s like baking a cake, but instead of a delicious treat, you’ll end up with a sturdy pathway that won’t crumble under pressure (literally).
Once you have your concrete mix ready, it’s time to pour it into your chosen mold. Whether you’re using a pre-made mold or getting crafty with a DIY mold, make sure it’s sturdy and level to avoid any mishaps. Gently tap the mold on a flat surface to release any air bubbles and ensure a solid finish. And remember, patience is key – don’t rush the pouring process or you’ll end up with a lopsided stepping stone that even your tipsy squirrel friend would struggle to navigate.
As the concrete sets, you can get creative with embellishments like glass beads, mosaic tiles, or even pressed leaves for a nature-inspired touch. Just make sure to gently press these decorations into the concrete to ensure they stay put once everything has dried. And don’t forget to let your stepping stones cure for at least 24 hours before removing them from the mold to prevent any cracks or breakage. It’s like waiting for a fine wine to age – good things come to those who wait, especially in the world of DIY garden projects.
So there you have it, my fellow garden enthusiasts – mixing and pouring concrete for your garden stepping stones doesn’t have to be a daunting task. With the right materials, a dash of creativity, and a sprinkle of patience, you’ll be on your way to creating a charming pathway that will have your garden looking like a whimsical wonderland in no time. Just remember to wear gloves, protect your work surface, and embrace the messiness of the process – after all, a little dirt under your nails is a small price to pay for a garden that will make your neighbors green with envy.
Adding Personal Touches and Finishing
A fun fact about making garden stepping stones is that you can personalize them by embedding items such as marbles, shells, or even small toys into the concrete before it sets. This allows you to create unique and whimsical designs that reflect your personality and style.
Adding personal touches and finishing touches to your garden stepping stones is where the magic truly happens. Whether you choose to paint intricate designs, embed meaningful objects, or simply add a splash of color, these final touches will make your stepping stones truly unique. Once your creations have fully cured, carefully remove them from the molds and place them in your garden with pride. Admire your handiwork, knowing that each step taken on your custom stepping stones is a step filled with creativity and love.

